Field guide · 11 minute read
Valheim Base Defense and Raid Events Guide: Triggers, Walls, and Recovery
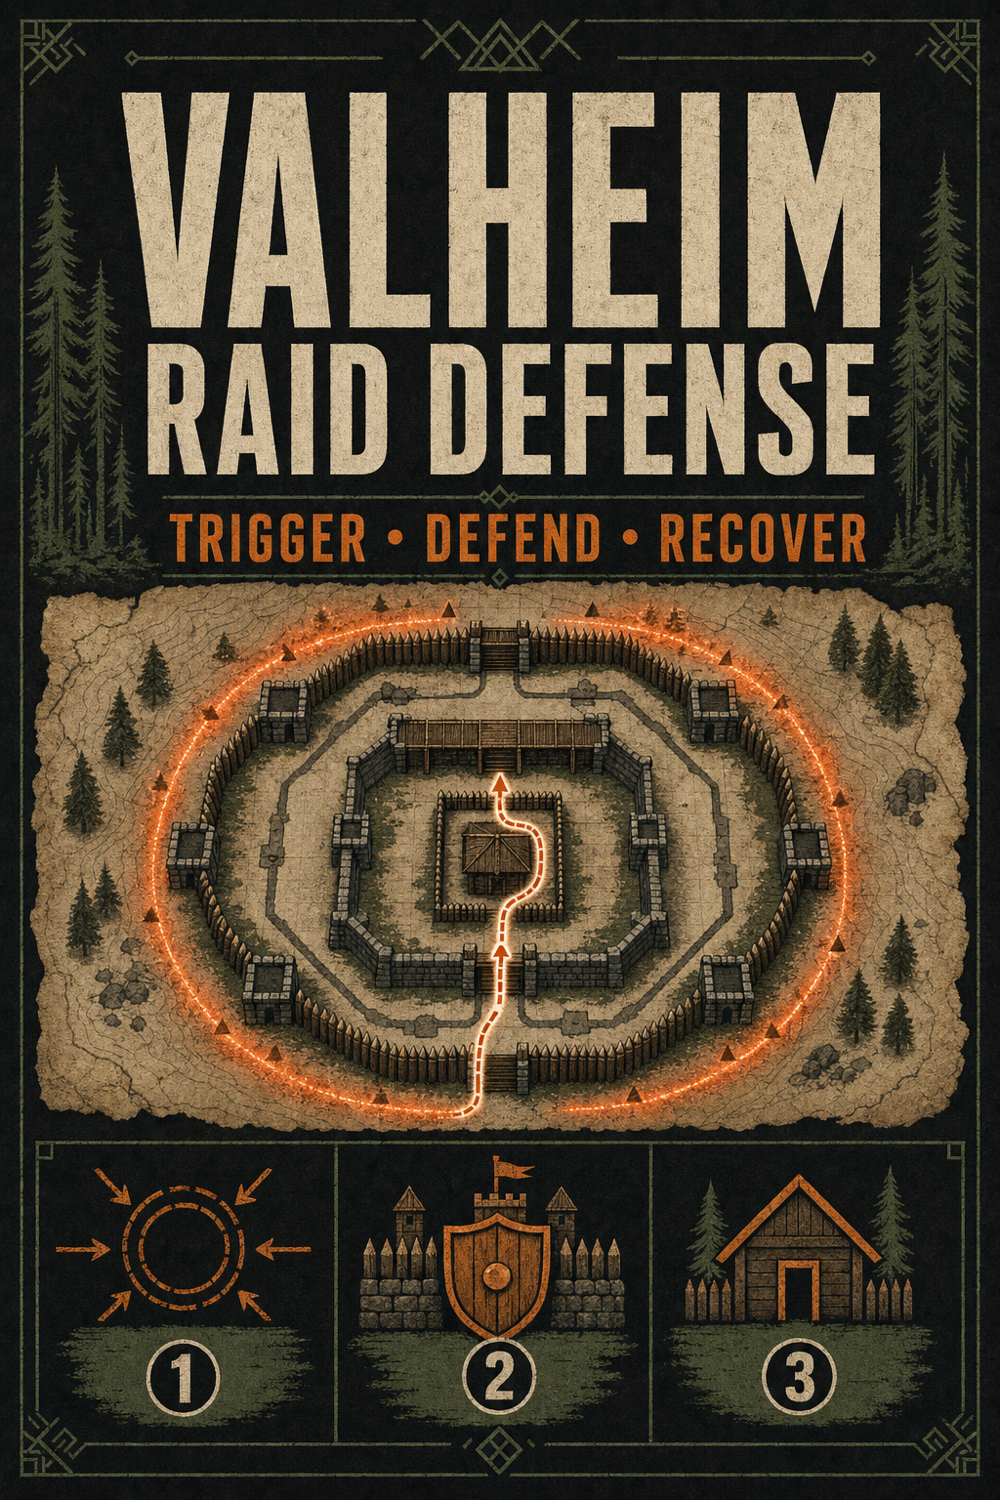
A raid is not only a wall test. The game first decides whether an event is available for the selected player and location, then spawns pressure around that position. A resilient base therefore needs three layers: a correct understanding of the trigger, a layout that buys reaction time without concentrating every valuable system, and a recovery route that works after the first gate or portal takes damage.
Check whether a raid can start here
Current mechanics references describe random events as a periodic eligibility check rather than a visible countdown. For most base raids, the selected player must be in an allowed biome, outside a dungeon, and close to at least three qualifying player-base pieces. Beds, workbenches, fires, portals, crafting stations, and many other ordinary base objects can contribute to that footprint. A tiny workshop, portal shed, or farm can therefore be a valid raid location even when it does not look like the main base.
Player-base coverage also suppresses ordinary and event spawning near the covered pieces. That makes complete coverage useful, but it does not create a magic safe bubble. Event enemies are selected around the player and can appear outside the visible warning circle or beyond the nearest workbench radius. Extend coverage across the zones that must stay clear, then inspect the outer ring where enemies are likely to find a path toward walls, animals, ships, or the player.
Treat every remote operation as a small base once it contains several qualifying pieces. A portal, workbench, fire, and protected chest may be enough infrastructure to make a mining or farming stop valuable—and valuable enough to defend. Store one meal, a weapon, and repair materials there instead of assuming raids happen only at the capital.
- Main hall: protect beds, food, repair access, and the recovery portal.
- Farm: protect seed stock separately from the planted crop.
- Harbor: keep a replacement boat package away from the dock.
- Outpost: leave enough equipment to survive a raid without the travelling kit.
Separate world-based and player-based progression
The default event pool follows progress recorded for the world. Boss defeats and certain creature defeats can enable or retire events for everyone using that save. A long-running shared world can therefore expose a new character to the consequences of progress completed by somebody else, even when that character has not personally reached the same biome.
The player-based raids option changes that decision. Iron Gate’s current dedicated-server guide exposes it as the `playerevents` world key, and the mechanics reference explains that the game then looks at the selected player’s acquired Forsaken powers, important items, and some defeated enemies. This is intended to make mixed-progression groups friendlier, but it does not mean “only bosses I personally killed.” Picking up a progression item can move the individual event pool.
A recent current-release question demonstrates the gap: a player used a troll to mine early copper, crafted a bronze pickaxe, and received “The forest is moving” without defeating Eikthyr. That result is consistent with the player-based item requirements in the current events reference. Before assuming the world is bugged, check the raid setting and what the selected character has acquired. If the group wants a gentler building world, change raid frequency or player-based progression deliberately and record the choice rather than trying to manipulate unknown triggers.
- World-based: shared world progression drives the available pool.
- Player-based: the selected character’s powers, items, and some kills drive the pool.
- Raid frequency: changes how often events are attempted, not the strength of the walls.
- Record the setting before troubleshooting a surprising event.
Choose terrain that supports visibility and movement
Open approaches reveal threats earlier and reduce hidden attacks against walls. Avoid dense trees pressed against the perimeter, steep shorelines where enemies can hit a ship from awkward angles, and deep valleys that hide large attackers until they are already beside storage. A scenic site can still work, but its blind side needs a watch path and a fighting lane.
Terrain can delay ground enemies, but every moat, raised edge, or steep bank also changes friendly movement. Preserve at least two exits that work while food is low and the main gate is occupied. Carts, tamed animals, and a player carrying recovered equipment need a route too. A defense that prevents every friendly exit turns one breach into a trap.
Keep the exterior simple enough to read during rain, night, and smoke. Decorative trees, sheds, and fences against the wall can hide damage and block repair targeting. Move fragile decoration inward and leave a clear strip where defenders can see which section is under pressure before choosing to fight, kite, or repair.
Use walls to buy time, not promise immunity
Wood, stone, black marble, and later materials provide different durability, but placed building pieces are still part of the combat environment. Large enemies, bosses, and concentrated groups can damage strong-looking walls and may also hit nearby objects through a crowded breach. A stone curtain is valuable because it creates warning, distance, and a repairable boundary—not because the player can safely ignore every impact behind it.
Build an outer delay layer and an inner survival layer. The outer wall, gate, terrain, and spawn coverage slow the first contact. The inner layer protects the bed, food, repair bench, recovery portal, and one response chest. Leave a fighting lane between them so the player can engage an attacker without opening the route directly into storage or livestock.
Do not solve one damaged panel by blindly doubling every wall. A second layer that sits within the same wide attack can take damage at the same time and can make inner repairs harder to target. First improve detection, spacing, defender access, and the exact breach point. If a troll or other large attacker repeatedly reaches one blind corner, remove the obstruction, add a protected firing angle, and pull it into open ground before rebuilding that section.
- Outer layer: warning, spacing, and a predictable point of contact.
- Fighting lane: enough room to move, shoot, and reach repairs.
- Inner layer: bed, food, portal, tools, and one replacement kit.
- No wall material replaces an active response to a large attacker.
Separate irreplaceable functions before the warning
Do not place every portal, premium food, seed crop, breeder, metal chest, and bed in one central room. Split the failure domains. Keep the authoritative seed stock inside while ordinary plants grow in an exterior field. Keep a recovery portal or bed away from the main gate. Store boat materials somewhere other than the harbor that would require the boat to reach.
Roof vulnerable livestock and separate breeders from the routine pen, because flying or small event enemies can bypass a ground wall. Put replacement food, a familiar weapon, arrows, a hammer, wood, stone, and environmental protection in a response chest that can be opened without crossing the gate. The goal is not to make every object invulnerable; it is to keep one breach from removing every way to respond.
Audit the layout after each expansion. A new portal wing, crop field, dock, or crafting annex can extend the valid base area and create a new exposed edge. Walk the perimeter from the new object back to the inner layer and ask what happens if that route is occupied for two minutes.
Run a two-minute raid response
In the first twenty seconds, stop the base task, eat or refresh the available food, equip the familiar combat path, and read the event message. Close gates only after confirming no teammate or tame is stranded outside. Do not sort inventory or begin repairing while the enemy type and approach are still unknown.
During the next forty seconds, move the fight toward the prepared lane and away from portals, crops, ships, animals, and weak roofs. Prioritize attackers that can quickly cross the layer or damage a wide area. Use ranged attacks and terrain to separate the group. In multiplayer, one person calls the movement and high-priority target while another watches the inner structures and any opposite approach.
For the remaining event, preserve enough stamina to move between lanes and stay near the defended area when practical. Most event timers pause when no player remains in the active event area, so running far away can delay the end instead of solving the raid; survival still takes priority when the lane is lost. Repair only from a safe gap. A dead defender and an open inventory beside a damaged wall create two recovery problems at once.
- 0-20 seconds: food, equipment, message, gates.
- 20-60 seconds: move pressure into the prepared fighting lane.
- 60 seconds onward: clear priority threats, preserve stamina, and keep the event progressing.
- After the end message: remain alert until surviving event enemies are found or safely displaced.
Audit and rebuild after the timer
The end message does not remove every surviving enemy. Walk the full perimeter, shoreline, roofline, farms, livestock, portal rooms, and remote production before returning to storage. Repair structural damage from a safe side, replace destroyed player-base coverage, close gates, and restock the response chest before sorting drops.
Record the actual failure in one sentence: “troll reached the blind harbor wall,” “flying enemies reached the breeder,” or “both exits opened into the same group.” Improve that failure domain rather than adding material everywhere. One new watch line, separated seed chest, roofed pen, inner portal, or wider fighting lane can do more than a second complete perimeter.
Rebuild the recovery path before decoration. Confirm the bed, portal, food, spare weapon, and repair access still work, then replace cosmetic pieces. A resilient base is not the one that never takes damage. It is the one that can absorb an event, identify the weak layer, and return to ordinary production without losing the whole account loop.
Before you leave
Expedition checklist
- The group knows whether raids are world-based or player-based and has recorded the setting.
- Main halls, farms, harbors, and portal outposts are treated as separate possible raid locations.
- Player-base coverage reaches critical zones without being mistaken for complete immunity.
- Two usable exits and one clear exterior fighting lane remain open during ordinary work.
- Walls provide warning and delay while the inner layer protects food, bed, portal, and tools.
- Seed stock, breeders, premium storage, portals, and boat materials are split across failure domains.
- A response chest contains three foods, a familiar weapon, arrows, hammer, wood, stone, and route protection.
- The first response is food, event identification, and movement—not inventory sorting or blind repair.
- The full perimeter is checked for survivors and structural damage after the end message.
- One measured fix addresses the observed breach before decorative rebuilding begins.
Sources and scope
This independent guide is reviewed for the public game version shown above. Strategy recommendations are practical defaults, not official rules. Preview-build details stay excluded until they reach the public release and pass review. Report a problem through the corrections page.